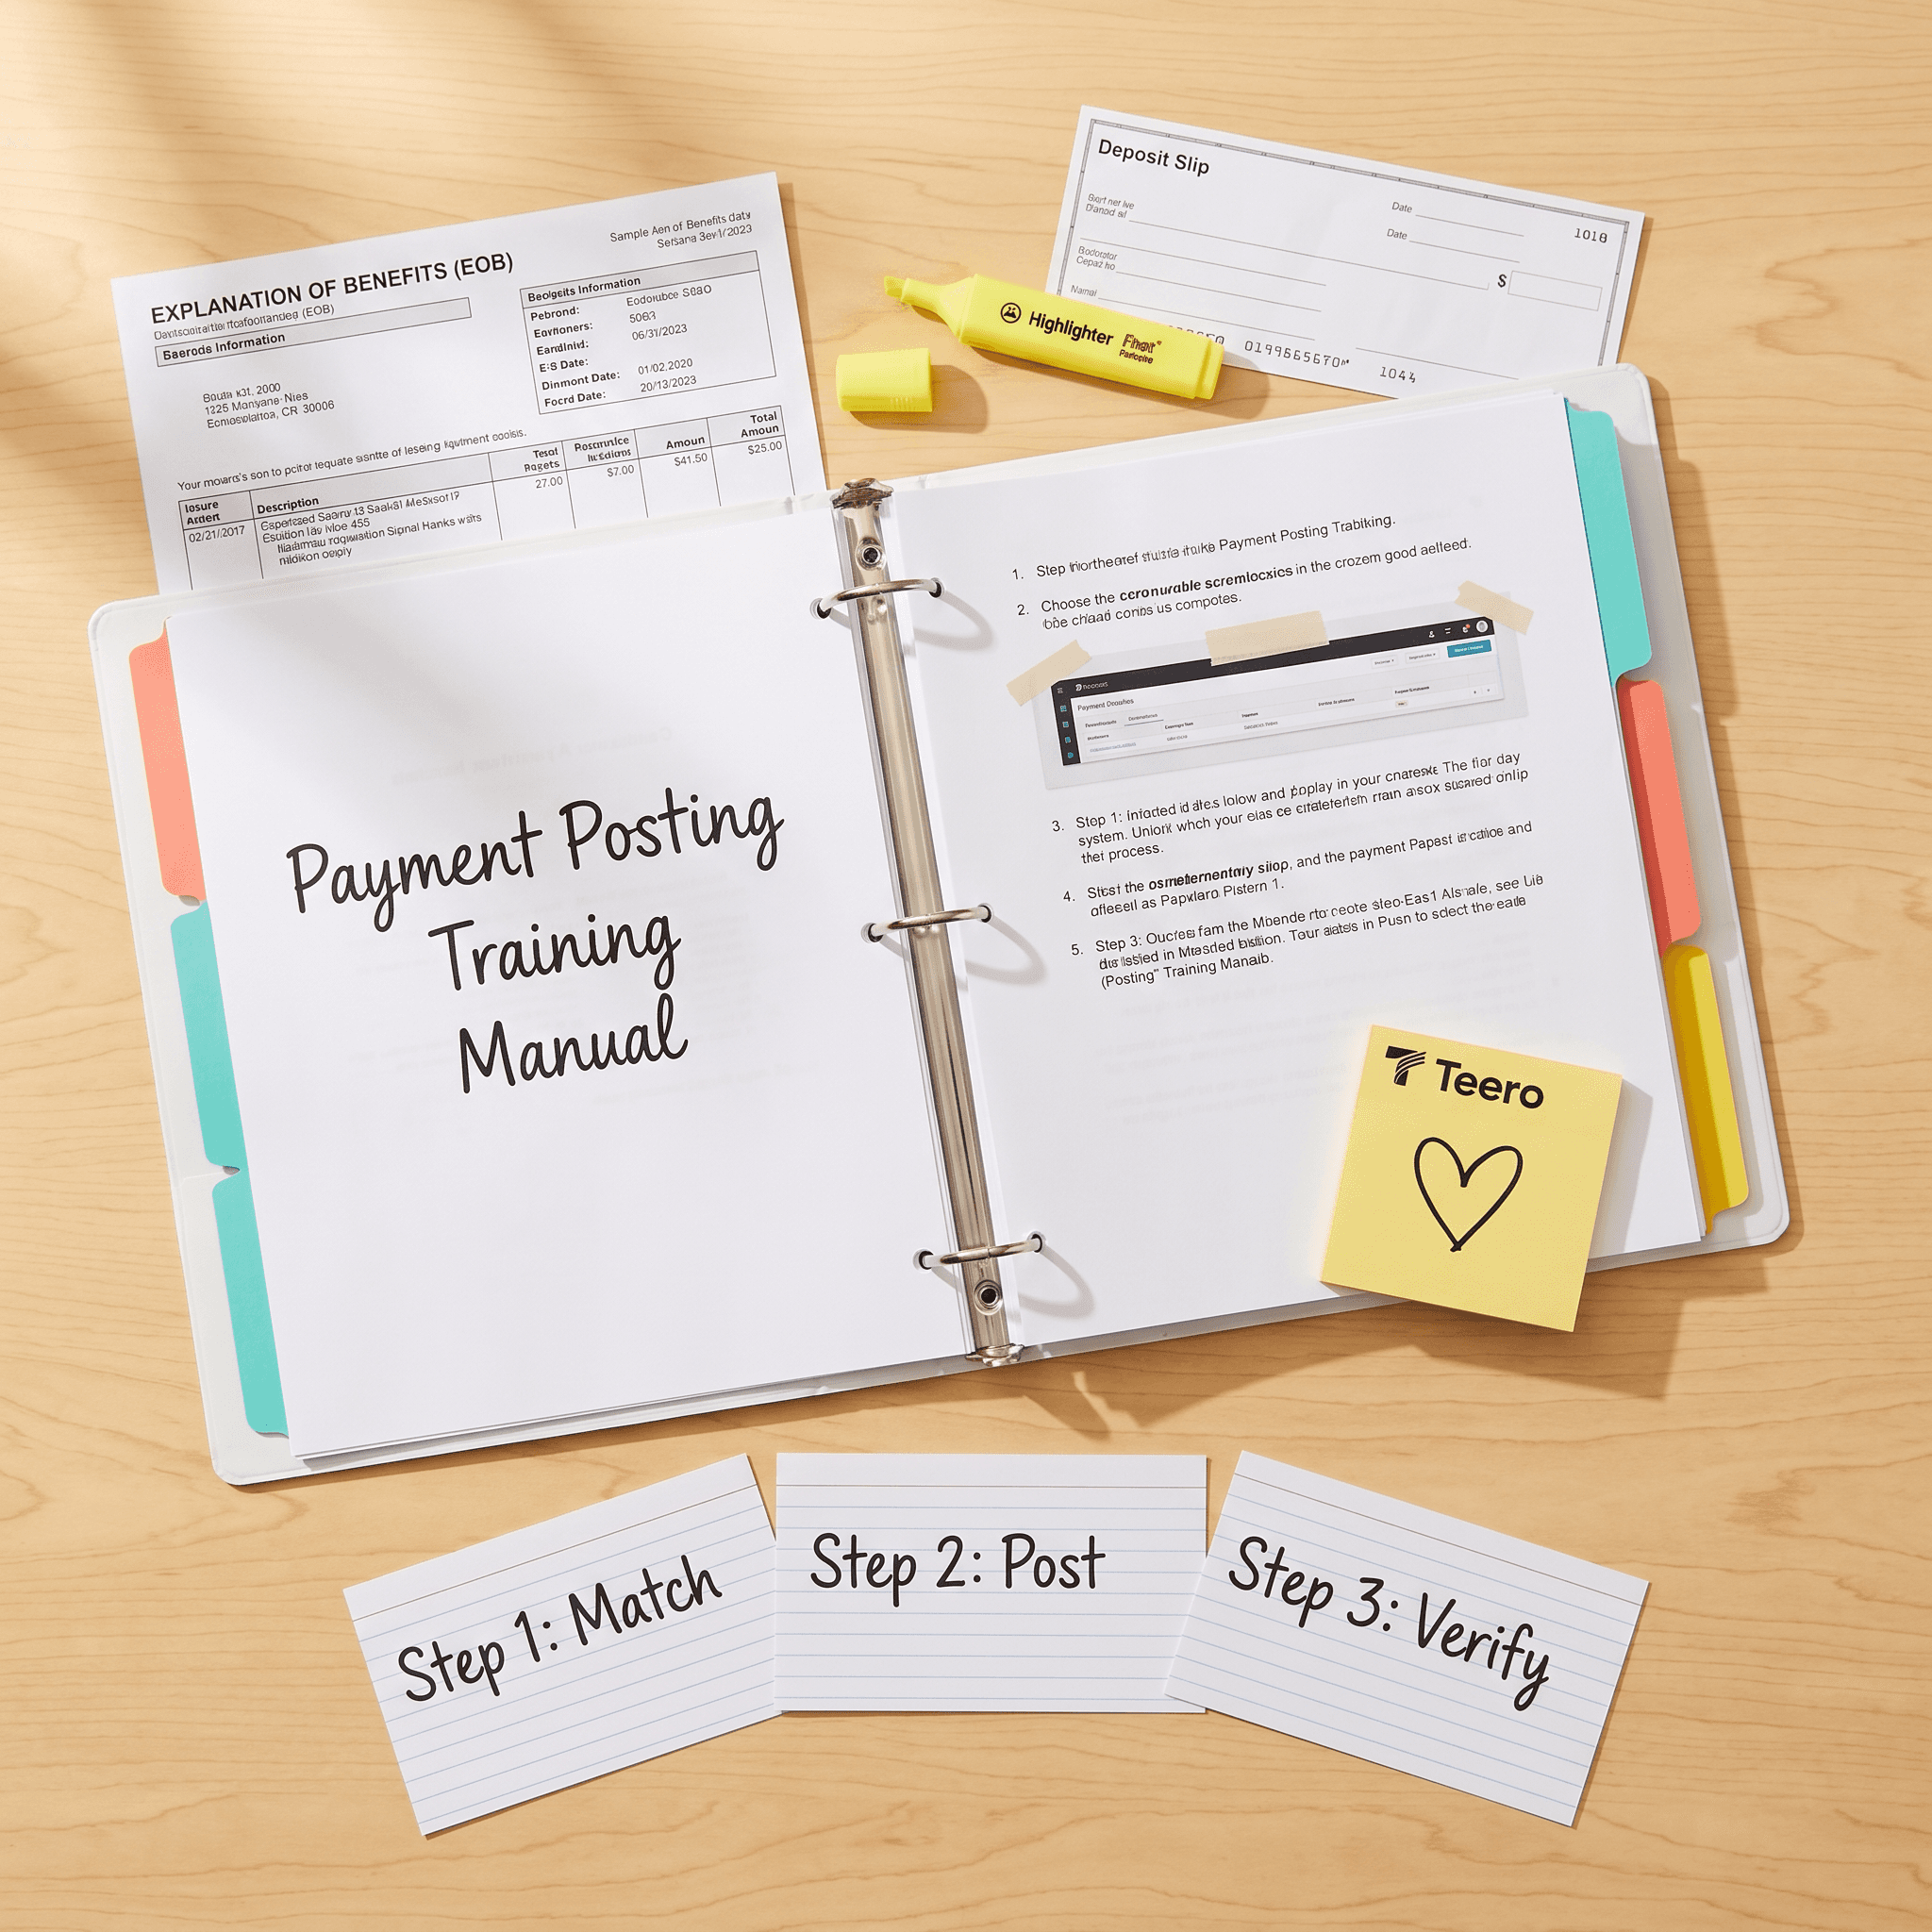
How to create a payment posting training manual for your team
Payment posting is where revenue either lands cleanly or quietly leaks out. Many dental offices treat it as a back-office task that someone picks up along the way. The result is familiar: unapplied cash, mismatched adjustments, patient balances that do not make sense, and a steady drip of write-offs that no one can explain.
A clear training manual fixes that. It standardizes how payments are posted, reduces rework, and gives new hires a path to competence without weeks of shadowing. Below is a practical guide to building a payment posting training manual that your team will actually use.
Want this handled for you? Teero’s dental insurance payment posting company posts every EOB, ERA, check and virtual card payment into your PMS each business day, then works the claims over 30 days old and the denials. You pay 2% of insurance collections, with volume discounts and an $800 monthly minimum.
Why most payment posting breaks down
Before writing anything, name the problems your team faces. This shapes what goes into the manual.
EOBs and ERAs do not match the ledger. Payers bundle procedures or apply strange adjustments.
High volume days lead to shortcuts. Staff post totals instead of line items.
Denials and partial payments get posted as paid. Follow-up never happens.
Patient payments are misapplied across family accounts or providers.
Secondary claims are missed because primary payments are not posted correctly.
Credit balances build up. Refunds get delayed or forgotten.
Turnover resets the process every few months. Everyone has a different way of posting.
Your manual should directly address these realities, not generic accounting theory.
Define the scope and standards
Start with a short section that defines what “correct” looks like in your office.
Payment types covered: insurance ERA, insurance paper EOB, patient payments at time of service, mailed checks, online payments, refunds, recoupments.
Posting standard: post at the procedure level, not claim level.
Timeliness: ERAs posted within one business day, paper EOBs within two.
Reconciliation: daily deposit ties to posted amounts. Monthly reconciliation to bank and clearinghouse.
Documentation: where to store EOBs, how to name files, what must be attached to the claim.
Keep it specific. If you expect ERAs to be posted the same day, write it down.
Map your systems and access
New team members lose time figuring out where to click and what they can see.
Practice management system (PMS): exact modules used for posting.
Clearinghouse: where ERAs are retrieved.
Payment portals: payer sites for EOBs and remits.
Bank feeds or merchant reports for patient payments.
File storage: where EOBs and deposit reports live.
Include screenshots with labels for key steps. Also list access roles and who grants permissions.
Standard workflow for each payment type
Break the work into repeatable steps. Write one workflow per payment type.
ERA posting workflow
Download ERAs from the clearinghouse.
Import into the PMS. Confirm payer mapping and deposit date.
Review each claim line. Check allowed amount, patient responsibility, and adjustment codes.
Post payments and contractual adjustments at the procedure level.
Flag denials and partial payments. Do not mark as fully paid.
Generate a posting report and compare to ERA totals.
Attach the ERA to the claim record.
Add common exceptions. For example, how to handle capitation, zero dollar EOBs, or recoupments.
Paper EOB posting workflow
Scan EOBs and name files using your standard.
Enter check details. Payer, check number, deposit date, amount.
Post line by line using EOB details.
Apply adjustments using your code map.
Balance the check to the sum of posted lines.
Attach the scanned EOB.
Patient payment posting
Pull daily merchant and front desk reports.
Post payments to the correct patient and provider.
Apply to open procedures in date order unless your policy states otherwise.
Handle overpayments by creating a credit and documenting next steps.
Reconcile totals to the merchant batch and cash log.
Refunds and recoupments
Verify credit balance and reason.
Confirm no pending claims will offset the credit.
Approve refund per policy.
Post refund with correct codes and notes.
Track recoupments from payers and link to original claims.
Create a clear adjustment code policy
Adjustment chaos is a root cause of bad reporting. Build a simple map.
Contractual adjustments by payer and plan.
Patient responsibility categories. deductible, coinsurance, copay, non-covered.
Write-off types. small balance, professional courtesy, timely filing.
Denial codes that require follow-up.
Include examples with numbers. For a given CDT code, show billed, allowed, paid, and each adjustment. If your PMS uses default codes, standardize them across locations.
Set rules for unapplied cash and credits
Unapplied cash hides problems.
Zero tolerance for unapplied amounts at day end, unless documented.
Aging thresholds for credits. for example, review credits older than 30 days weekly.
Family accounts. define whether credits can move across guarantors and how to document transfers.
Refund timeline and approval limits.
Add a short checklist staff must complete before leaving unapplied cash.
Build a denial and follow-up loop
Payment posting should trigger action, not just record it.
Define what counts as a denial or underpayment.
Create a work queue in the PMS for follow-up.
Set ownership. who works the queue and within what timeframe.
Require notes with payer reference numbers and next steps.
Track outcomes. overturned, written off, rebilled.
Include templates for common appeal notes and a list of payer contacts.
Reconciliation process that actually gets done
Daily and monthly reconciliation prevents drift.
Daily
Match total posted payments to ERA totals and checks.
Match patient payments to merchant batch.
Investigate differences the same day.
Monthly
Tie PMS totals to bank deposits.
Compare clearinghouse totals to posted ERAs.
Review adjustment totals by category for outliers.
Provide a one-page checklist and a sample completed report.
Quality checks and audits
Training sticks when there is feedback.
Randomly audit a set number of claims per week.
Check for line-level accuracy, correct adjustments, and proper attachments.
Score each audit and share results with the team.
Keep a log of common errors and update the manual with fixes.
Avoid blame. The goal is consistency.
Onboarding plan for new hires
Your manual should plug into a short training plan.
Week 1: system access, reading the manual, shadowing ERA posting.
Week 2: supervised posting of ERAs and simple paper EOBs.
Week 3: independent posting with daily audits and feedback.
Week 4: add patient payments, refunds, and denial routing.
Include a competency checklist. New hires should demonstrate each task before moving on.
Templates and job aids
People use what is easy to find.
Quick reference for adjustment codes.
Step-by-step ERA checklist.
Denial routing guide.
Reconciliation checklist.
File naming conventions.
Keep these as one-page documents and link them inside the manual.
Version control and ownership
A manual that goes stale creates more confusion than no manual.
Assign an owner. often the billing lead or office manager.
Set a review cadence. quarterly is a good start.
Track changes. note what changed and why.
Update screenshots after PMS upgrades.
Invite feedback from the team. If people are working around the manual, fix the manual.
Metrics to track
Tie your training to outcomes.
Days in A/R.
Percentage of claims with denials on first pass.
Unapplied cash balance.
Credit balance over 30 days.
Time to post ERAs.
Rework rate from audits.
Review these monthly. If numbers slip, adjust the manual or training.
Common pitfalls to avoid
Posting at the claim level. This hides underpayments.
Treating all adjustments as contractual. This inflates write-offs.
Ignoring zero dollar EOBs. These often signal bundling or prior payments.
Letting paper EOBs pile up. This delays secondary billing.
Skipping attachments. Audits become painful without source documents.
Allowing multiple “styles” of posting across staff or locations.
A manual is there to remove these choices.
How to roll it out without disrupting the office
Change can slow things down at first.
Pilot the manual with one biller for a week.
Fix unclear steps and missing screenshots.
Train the rest of the team in short sessions. focus on one workflow at a time.
Audit closely for the first month.
Share early wins. fewer denials, faster posting, cleaner reports.
Expect a short dip in speed. Accuracy pays back quickly.
Conclusion
Payment posting is detail work, but it drives the numbers you make decisions on. A clear, practical training manual turns it from tribal knowledge into a reliable process. Start with your real pain points, write down exact steps, and back it up with audits and reconciliation. Keep it current and easy to use.
If your team is stretched thin, many offices pair a strong manual with remote support for posting and reconciliation. Teero’s revenue cycle management tools handle payment posting and reduce backlog, which helps teams keep pace without adding more admin hours.